Wednesday, February 20, 2013

The 52 Week Money Saving Challenge - Week #8


Welcome to Week #8 of The 52 Week Money Saving Challenge.  This week we save eight dollars.  We're celebrating President's Day by collecting something with presidential images emblazoned on the front.  What a wonderful thing to do.

The 52 Week Money Saving Challenge

Our total savings, including the eight dollars for Week #8, is thirty-six dollars.  If you're new to the challenge and need to catch up with us, there are a couple of ways to do it. Either save thirty-six dollars this week and then save the weekly challenge amount henceforth, (nine dollars next week, ten dollars the week after that, etc.) or save eight dollars plus a little extra this week. Then, add a dollar or more to each week's challenge amount until you're caught up.  It is easy!

We are doing at least two good things with this challenge.  First, we're saving money.  Everyone needs to have some savings!  Second, we're establishing a habit of saving and living on less than we earn.  Both these things have the potential to make our lives much more enjoyable.

For a free printable chart, check out Stuck At Home Mom's 52 Week Money Challenge.  Happy saving!

Friday, February 15, 2013

The 52 Week Money Saving Challenge - Week #7


Welcome to Week #7 of The 52 Week Money Saving Challenge.  This week we save seven dollars. Are you enjoying watching the greenbacks grow?


 Like I've been saying each week, there is STILL time to jump in and join the Challenge.  Our grand total savings to date is twenty-eight dollars.  If you want to be on track with everyone and you're just starting, you'll need to have a total of twenty-eight dollars saved.  If you can't do that much all at once, save the seven dollars this week, do the weekly challenge from here on in, and just add a little extra here and there whenever you can.  


The 52 Week Money Saving Challenge

 I am so proud of everyone that is doing the challenge.  I hope you're proud of yourself too.  Hang in there, because it is getting better and better.  For a free printable chart, check out Stuck at Home Mom's 52 Week Money Saving Challenge.  Happy saving!


Thursday, February 14, 2013

Heart Shaped Oven Fried Potatoes


We may have found the perfect technique for Oven Fried Potatoes!  I dicsovered this recipe and technique for Oven Fried Potatoes on Pinterest and pinned it here.  It is originally posted as Baked Oven Fries by Annie Eats .

Staying under the influence of Pinterest, I remembered these beautiful heart-shaped carrots I saw and pinned here .   The carrots were originally posted as Heart Shaped Carrots Tutorial on Recipe by Photo .

What brought all this about?  I was making my special Heart Shaped Patty Melts for HUBBY, and needed something yummy to serve with them.  Potatoes?  Yes please.  Why not the Baked Oven Fries, but with a twist, Heart Shaped Oven Fried Potatoes. Yes!

Heart Shaped Oven Fried Potatoes

Potatoes
Paring Knife
Canola Oil
Rectangular 9X13 (or thereabouts) Baking Pan with tall rim on sides

Preheat oven to 475 degrees Farenheit.  Use a paring knife to peel your potatoes and shape them into hearts.  (Check out the Carrots Tutorial if you need help) Then slice them into approximately 1/4" thick slices.  Soak heart shaped potato slices in hot water for 10-30 minutes.  Remove from water, drain and pat very dry with paper towels.  Add 1 tbsp oil to clean, dry bowl and put dried potato hearts in bowl.  Stir until all slices are evenly covered with oil.  

Put 4 tbsp oil in baking pan.  Season oil with Daddy-O Cajun Spice Rub generously to taste. Place heart potato slices in single layer in bottom of baking pan.  Cover with foil and bake for 5 minutes.  Remove foil and continue to bake for about 10 more minutes until they are ready to turn over.  


Using tongs, turn each potato heart slice over in pan and continue baking about 10 more minutes or so until they are beautifully golden brown.


Remove pan from oven.  Drain potato heart slices on paper towels to remove excess oil.  Serve hot.  If you like, complement with ketchup or your favorite dipping sauce.  Enjoy!

These go beautifully with my Heart Shaped Patty Melts!  This is a wonderful meal for Valentine's Day, an anniversary, or anytime you want to say, "I love you" with food.  What says it better for your special someone than beautiful burgers and potatoes?


This post is shared at:

All Things Thursday Link Up #10 
Country Cook Weekend Potluck #54 
Bobbis Kozy Kitchen Manic Monday Party #27
 

Heart Shaped Patty Melts


For Valentine's Day, and anniversary, or anytime you want to tell someone, "I love you" with a special meal, the Heart Shaped Patty Melt is a delicious choice.  I first made this for my sweetheart over 20 years ago.  This Valentine's Day, I'm adding Heart Shaped Oven Fried Potatoes to the meal and sharing it with you.

Heart Shaped Patty Melts

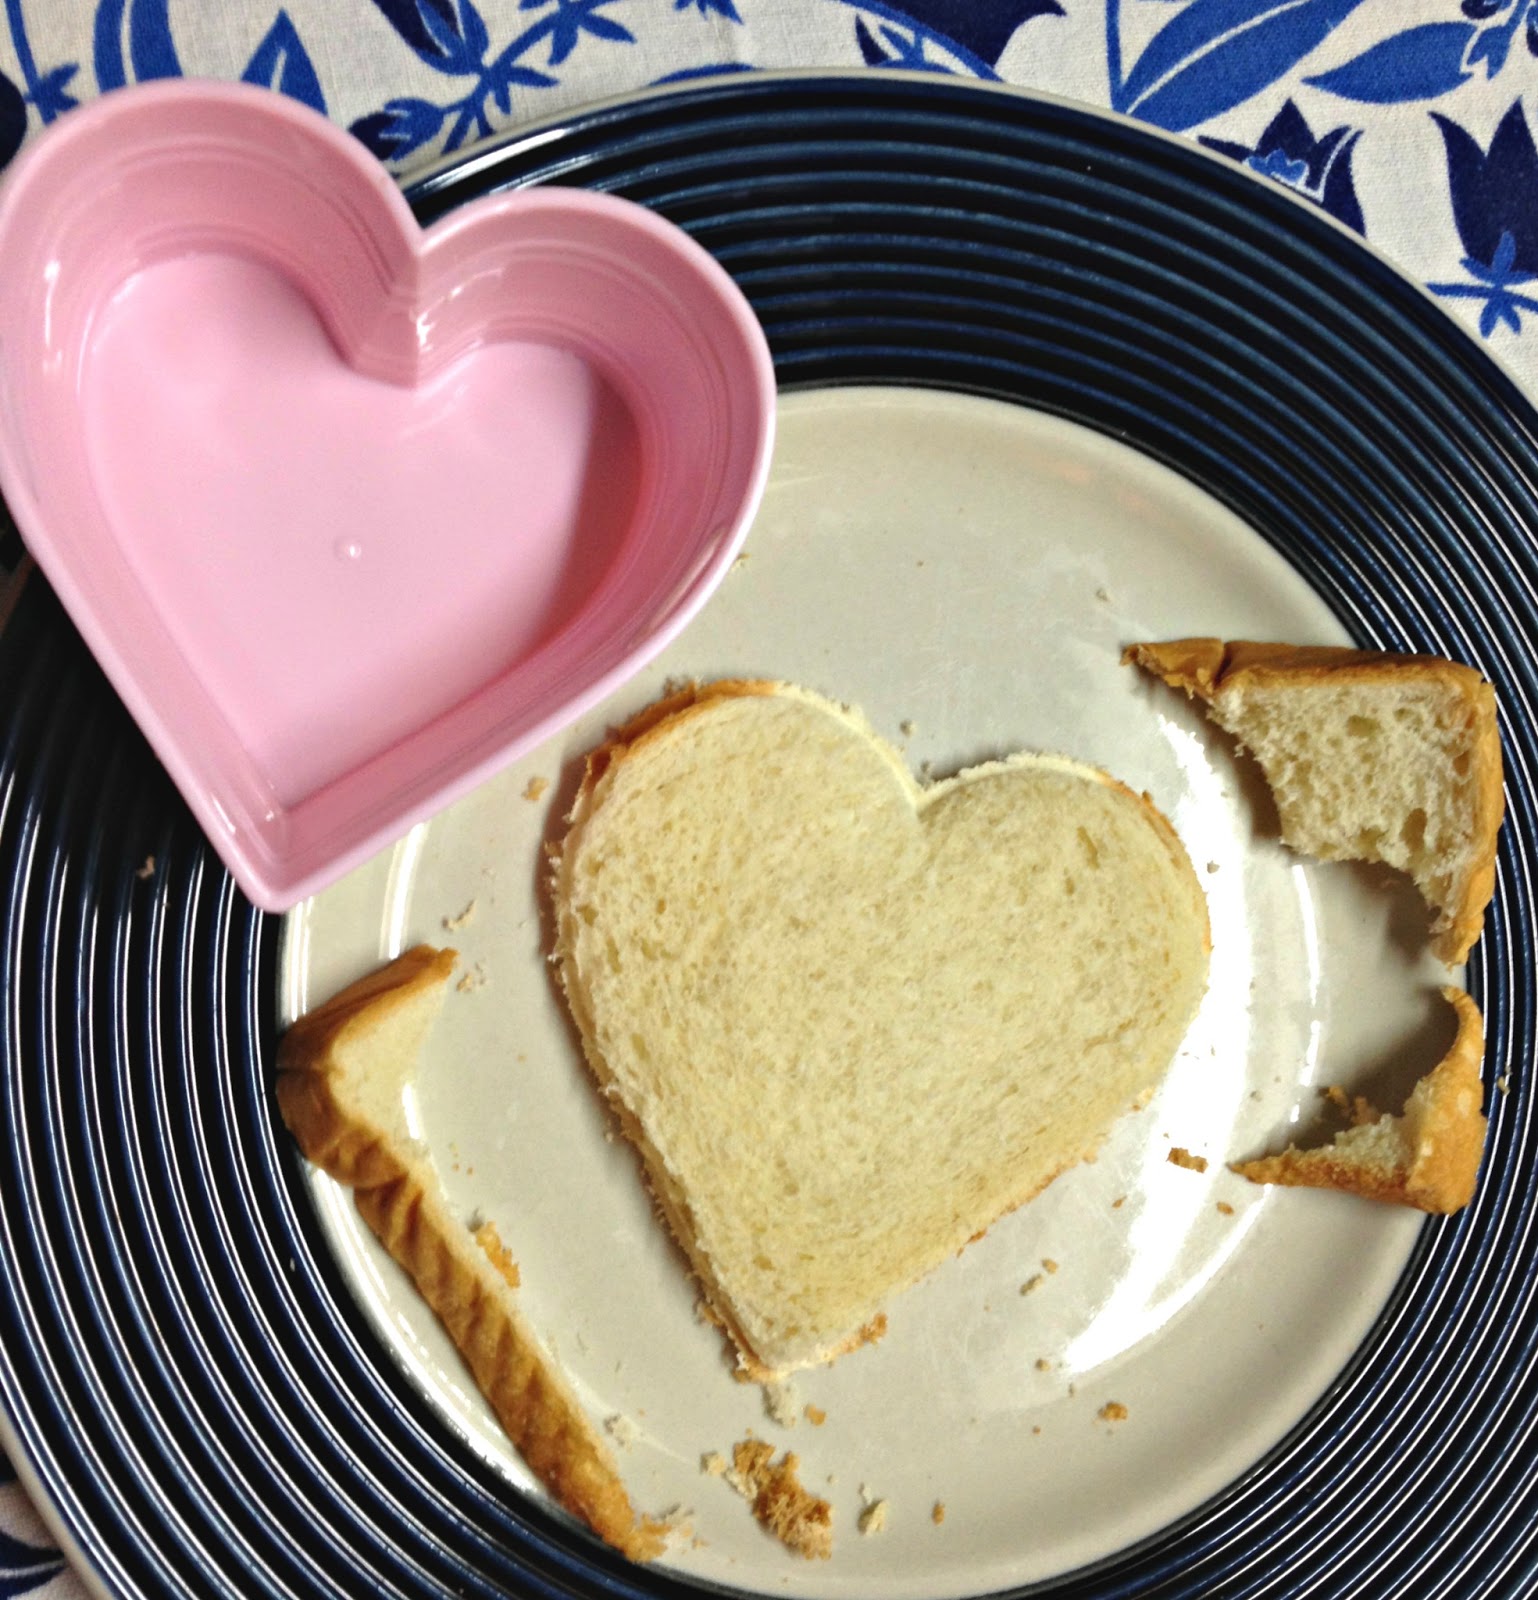
  • Heart Shaped Cookie Cutter (or other heart shaped kitchen item that will shape your ground beef patties and your bread.  I used a heart-shaped plastic bowl.)
  • Ground Beef
  • Skillet
  • Daddy-O Cajun Spice Rub
  • Plate
  • Wax Paper
  • Day Old Bread Slices
  • Sliced American Cheese
  • Butter or Margarine 
  • Spatula

Using cookie cutter or other heart shaped kitchen item, cut your bread slices and set aside.  Choose lightly stale, 'day-old' bread if available.  I used white bread, but you could use just about any standard bread variety as long as it is tough enough to hold its shape when cut and grilled. 


Cover a plate with wax paper.  Lay a portion of ground beef on the wax paper, and cut your ground beef patty with your heart shaped cutter.


Place your heart shaped patty in skillet and fry on medium heat.  


 Just before turning the patty over, add your favorite spices.  


HUBBY loves the Daddy-O Cajun Spice Rub I gave him for Father's Day, so that was the perfect choice for us.  You can get the recipe here.


PEPSI gave me a pancake gift set for Christmas that came with a heart shaped spatula.  What could be better to use to turn my heart-shaped patty with?  I know, it is a bit over the top, but I love it!


After you turn your patty over, add more spice to the top of the patty and fry until it is done to your taste.


When patty is finished frying, remove it from the skillet and place on paper towel covered plate to drain grease.  Drain grease from skillet.  Wash if needed.  If you are using non-stick skillet, you can carefully use paper towel to wipe skillet clean instead of washing it.  Be careful, skillet is hot!

Lightly butter one side of bread slice.  Place about a half tablespoon of butter into the skillet and heat skillet on medium heat.  Lay bread slice, butter side down, onto skillet.  Place cooked patty on top of bread. 


 Place cheese slice on top of patty.  Lightly butter another bread slice.  Place it atop cheese, butter side UP.  Turn patty melt over when bread slice on the bottom is golden brown and grill the other slice of bread until it is golden brown and cheese is melted.


Serve with ketchup or your favorite sauce for dipping and enjoy.  Next I'll be posting the beautiful Heart Shaped Oven Fried Potatoes, yum!!

This post is shared at:

All Things Thursday Link Up #10 


Monday, February 11, 2013

Fortune Teller Valentines


BELLE  with her Free Printable Fortune Teller Valentines by Design Mom


For Valentine's Day this year, I invited my granddaughter BELLE to look at my Valentine's Board on Pinterest and choose which Valentines she would like to create for her classmates at school.

She chose these adorable Free Printable Fortune Teller Valentines by Design Mom.  We had so much fun making them!  We put them in small stationery envelopes.  We also got Valentines Ring Pops and little bottles of bubbles to put in treat bags.  She filled the treat bags, prepared the Fortune Tellers, put them in the decorated envelopes, and stapled the envelopes to the treat bags.  

We had so much fun with these Valentines.  Click on the photo caption link for the complete tutorial and pdf.    

This post is shared at:

Gunny Sack Link Party #75

Wednesday, February 6, 2013

The 52 Week Money Saving Challenge - Week #6


Welcome to Week #6 of The 52 Week Money Saving Challenge.  This week we save six dollars.  How is everyone doing?


Like I said last week, there is STILL time to jump in and join the Challenge.  Our grand total savings to date is twenty-one dollars.  That is what you will need to catch up with the rest of us.  You can do it!!


The 52 Week Money Saving Challenge
I am starting to enjoy thinking about how much money I'm saving this year.  It is a big change for me.  I am accustomed to enjoy thinking about money in terms of how much I can SPEND instead of how much I can save.  How about you?  I believe this is a good attitude adjustment. 

We started with one dollar, and now we have twenty-one times that amount in only six weeks.  By small and simple means, we can do great things!  For a free printable chart, check out Stuck at Home Mom's 52 Week Money Saving Challenge.  Happy saving!

This post is shared at:

All Things Thursday Link-Up #9 

Diana Rambles: Pin Me Linky Party #19

Sunday, February 3, 2013

Soup-er Taco Dip

1 can (10 3/4 oz) Campbell's Condensed Cheddar Cheese Soup
1/2 cup salsa
1 lb. ground beef
1/8 tsp sea salt

Cook beef in 10" skillet over medium high heat, stirring often to separate meat.  Drain off fat.  Stir soup and salsa into skillet with drained beef.  Cook until mixture is hot and bubbly.  Serve warm with your favorite tortilla, potato, or regular corn chips.  Delish!

NOTE:  HUBBY made this for our Super Bowl Sunday snacks.  He got the recipe for Beef & Cheddar Soft Tacos from the Campbell's Soup can and said, "This would make a great dip!"  He modified the recipe slightly.  Enjoy.

This post is shared at:

I Heart Nap Time Sundae Scoop Link Party #65
Gunny Sack Link Party #74 
Countrified Hicks Monday Blog Hop 
Bobbi's Kozy Kitchen: Manic Monday Link Party #25

Please visit these links and see all the amazing things being shared!